General Guidelines
Smoke Dampers
READ ENTIRE INSTALLATION GUIDELINES MANUAL BEFORE INSTALLING DAMPERS. CHECK ALL DAMPER SIZES AND TAGS TO ENSURE THAT SMOKE DAMPERS ARE INSTALLED IN THEIR CORRESPONDING OPENINGS.

- Installation
- Documents
Manufacturer’s Recommendations:
- When smoke dampers arrive at the job site, inspect all material for obvious and hidden damage. Report any damage or missing parts to Tamco Customer Service.
- Store dampers indoors to protect them from environmental conditions and to avoid damage.
- All moving parts of the damper must be inspected and cycled at intervals not greater than every twelve (12) months or in accordance with the latest edition of NFPA 80, 90A, 92A, local codes and the actuator manufacturer.
- Dry lubricants are recommended.
- Smoke dampers do not typically require maintenance, if the environment they are installed in is kept dry and clean.
General Installation Notes:
- Smoke dampers must be installed square and free from racking, to ensure proper operation and performance.
- Dampers must be installed without stretching or compression, to allow them to maintain their original factory adjustment, thereby retaining their low leakage rating.
- Tamco Smoke Dampers are approved to be installed either standing in the vertical plane, or lying in the horizontal plane. If smoke dampers are installed standing in the vertical plane, damper blades must be horizontal.
- Only lift dampers via sleeve or damper frame. Never lift damper by holding on to the damper blades or actuator.
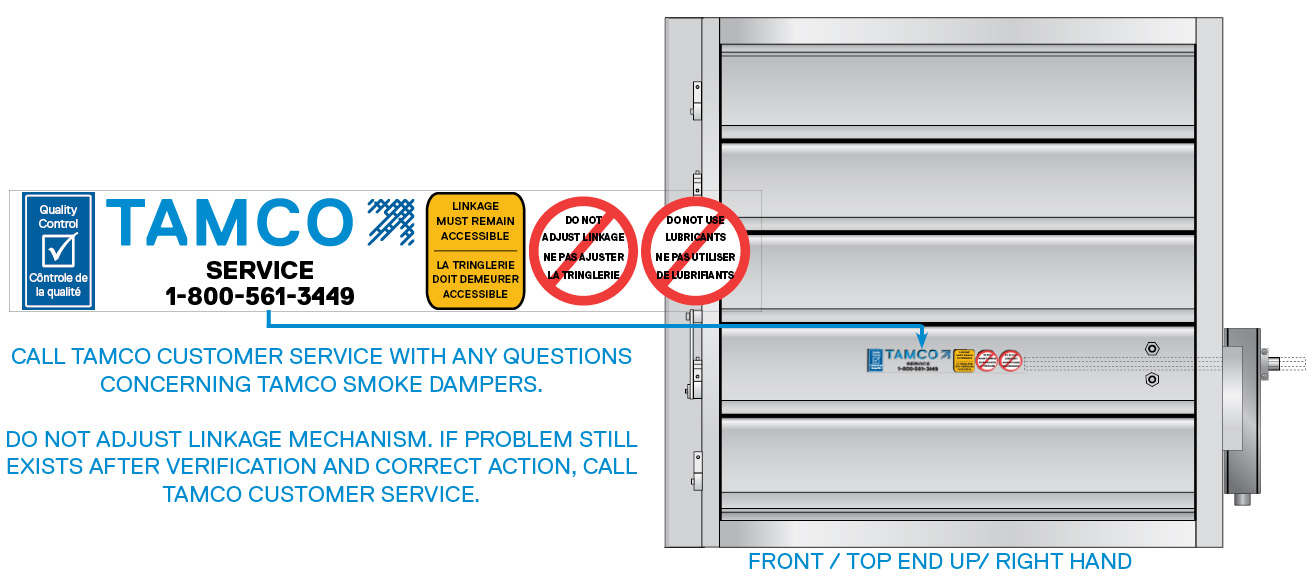
- All connections on the back or rear side of the smoke damper frame (opposite to sticker side), where the damper makes contact with the duct, sleeve, or substrate must be sealed using a 1/8″ (3.2 mm) bead of silicone sealant. (See “Installation Procedures for Smoke Damper Install Types” for recommended silicone seal brands.)
- When installing a multiple-section smoke damper assembly, all joints where damper frames meet must be sealed, using a bead of silicone sealant.
- Tamco Smoke Dampers must be kept in an environment that is free of dirt, dust, wall texture, paint over-spray, and other contaminants, prior to and after installation, to ensure proper damper operation and to guard against damage.
- Any alteration to or deviation from Tamco’s UL Classified, Smoke Damper Installation Guidelines must be approved by the local AHJ (Authority Having Jurisdiction).
- Angle clips described in these installation guidelines are a minimum 16 ga (1.5mm) zinc-plated or stainless steel, or .125” (3 mm) extruded aluminum. Angle legs are to be a minimum 1” x 1” (25.4 mm x 25.4 mm) and are to be a minimum ½” (12.7 mm) wide and with 0.15″ (4mm) diameter screw holes. Continuous or full-length zinc-plated, extruded aluminum, or stainless steel angles are also acceptable.
- Smoke dampers must be installed at, or adjacent to but no more than 24″ (609mm) from the point where the duct or opening passes through the smoke barrier. This must be done in accordance with NFPA 90A.
- Duct air inlets, outlets or branches shall not be located between the smoke damper and the smoke barrier.
- Smoke dampers must not be installed in fiberglass-lined ducts in a manner that will damage the lining material, or interfere with damper blade operation. .
- Provide a duct hanger at a smoke damper location, when the duct strength is inadequate for the damper and its operator.
- An access door must be provided, if the damper actuator is mounted inside the duct.
Tamco UL/ULC Approved Smoke Damper Installation Guidelines
Download PDF Document
Download PDF Document (French)
