
Install Types
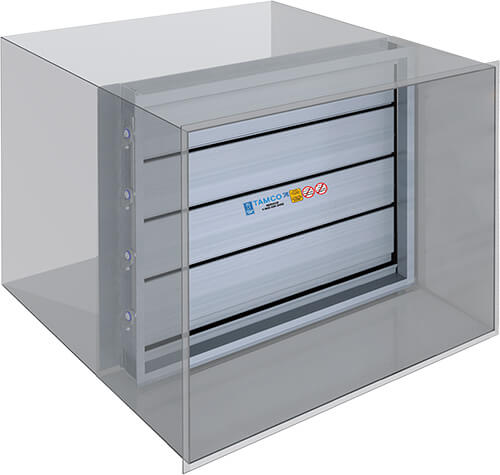
IN DUCT INSTALL TYPE
- Damper must be installed square. Linkage must remain accessible after installation.
- Damper is manufactured ½” (12.7 mm) smaller than specified duct size.
- Ensure that duct is square and/or large enough to allow damper to be installed square.
- Make hole in duct work, if required, to allow extension of drive rod.
- Bottom of frame must sit flat on floor of duct to prevent twisting, sagging, or bowing, as this could cause leakage between bottom frame and bottom blade.
- Verify that damper is square and then secure bottom frame to floor of duct using a 90° mounting angle. Operate damper manually to confirm proper blade sealing.
- As each mounting angle is installed, verify operation to ensure damper blades are sealing correctly.
- Caulk all connections/joints between damper frame and duct to minimize installation leakage.
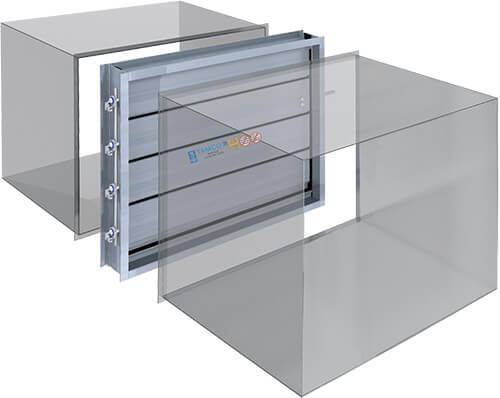
FLANGED TO DUCT INSTALL TYPE
- Damper must be installed square.
- Front and rear damper flanges are 1” (25.4 mm) larger than duct or opening, around entire perimeter.
- Damper is manufactured so that finished O.D. is 2” (50.8 mm) greater than opening width and height dimensions.
- Do not assume that duct is square. Verify that duct flange is square, flat and even.
- Verify that damper is square. Operate damper manually to verify free movement of blades and correct sealing.
- Fasten damper to duct. Re-verify that damper is square.
- Repeat procedure for other flange, if ducted on both sides.
- Caulk all connections/joints between damper frame and duct to minimize installation leakage.
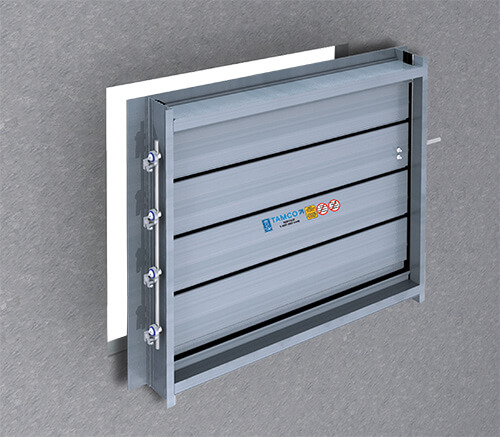
FLANGED TO DUCT INSTALL TYPE
- Damper must be installed square.
- Front and rear damper flanges are 1” (25.4 mm) larger than duct or opening, around entire perimeter.
- Damper is manufactured so that finished O.D. is 2” (50.8 mm) greater than opening width and height dimensions.
- Do not assume that duct is square. Verify that duct flange is square, flat and even.
- Verify that damper is square. Operate damper manually to verify free movement of blades and correct sealing.
- Fasten damper to duct. Re-verify that damper is square.
- Repeat procedure for other flange, if ducted on both sides.
- Caulk all connections/joints between damper frame and duct to minimize installation leakage.
- Documents
Tamco Aluminum Control Damper Installation Guidelines
Download PDF Document
Download PDF Document (French)
Damper Jumper Installation Guidelines
Download PDF Document
Download PDF Document (French)
Horizontal Jackshaft Installation Guideline
Download PDF Document
Download PDF Document (French)